A Practical Guide to Roof Leak Inspection for Homeowners
I have spent years working on roofs across Cape Town, and if there is one thing I have learned it is that a small drip never stays small. What starts as a damp patch on a ceiling can turn into rotting timbers, mould inside walls, and electrical hazards before you know it. Most homeowners only think about their roof when something goes wrong, and by then the damage has often spread further than expected. That is why a thorough roof leak inspection matters more than most people realise.
When I arrive at a property, the first thing I do is listen to the homeowner. They describe where they saw the stain, when it appeared, and what the weather was like. That conversation alone gives me a good idea where to start looking. But the real work begins when I get on the roof and begin a systematic roof leak inspection. I do not just glance at the obvious spots. I check flashings, valleys, penetrations, and the condition of old sealants. Every roof has its weak points, and they are rarely where the water actually enters the building.
Why Leaks Are Hard to Find
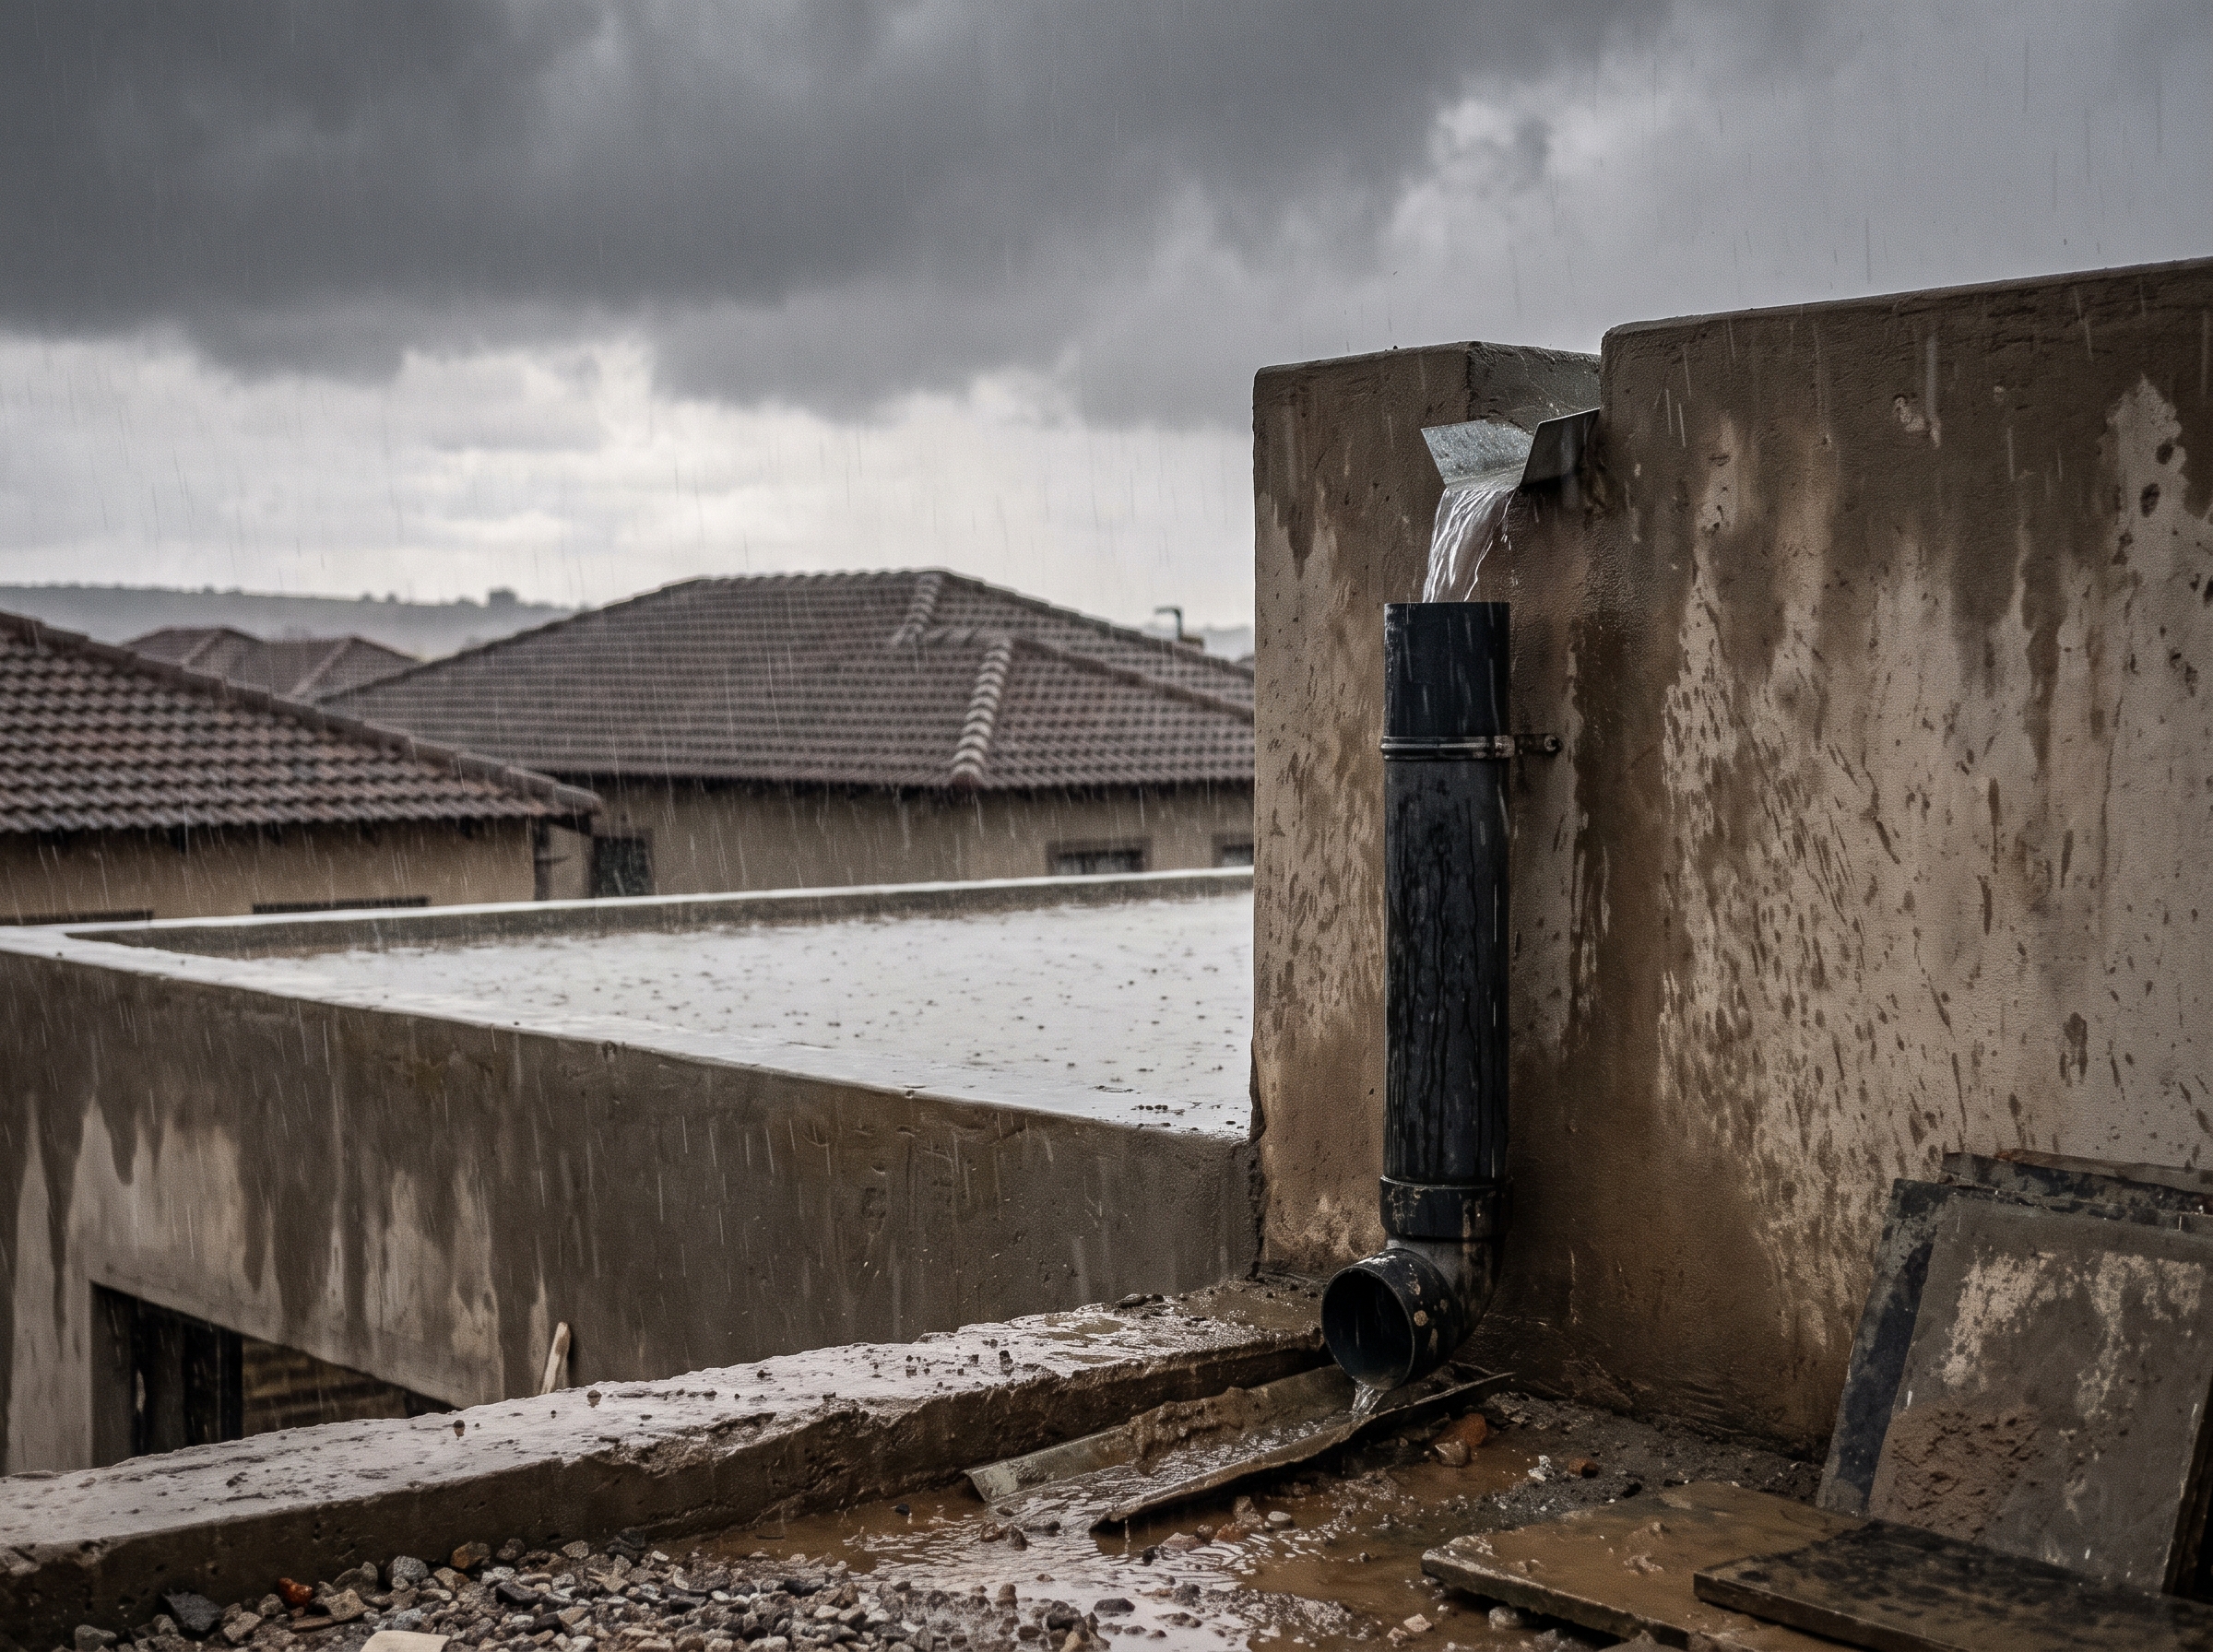
Water is persistent. It can travel sideways along a batten, run down a rafter, and drip onto a ceiling board a metre away from the actual entry point. I have seen leaks that originated from a cracked tile on one side of a ridge and only showed up as a stain on the opposite slope. That is why a proper roof leak inspection is not just about looking at the ceiling. It is about understanding how water behaves once it gets under the roof covering.
Many homeowners try to fix a leak themselves by smearing sealant over the visible stain inside the house. That never works. You have to trace the water back to its source, and that often means climbing into the roof cavity or walking the entire roof surface. The process takes time and patience, but it is the only way to stop the problem permanently.
What a Good Inspection Covers
A thorough roof leak inspection should include a check of every component that keeps water out. Here is what I typically look at:
- Tiles or sheet joints for cracks, gaps, or slipped sections
- Flashings around chimneys, vents, and skylights for rust or separation
- Valleys and gutters for debris buildup that can back water up under the roofing
- Penetrations like pipes, aerials, and solar panel brackets for failed seals
- Ridge capping and hip capping for loose fixings or corroded screws
Each of these areas can fail in different ways. A loose screw might not leak immediately, but after a few years of thermal expansion and contraction the rubber washer hardens and water seeps in. Valley flashings can fold over time if they were not installed with the correct fall. The inspection needs to account for age, material type, and local weather patterns.
Timing and Frequency
The best time for a roof leak inspection is before the rainy season hits. In Cape Town that means scheduling it around late autumn, ideally April or May. But if you notice a stain during winter, do not wait until next year. Call someone sooner rather than later. A small leak can cause structural damage in a single wet season, especially in older homes with timber roofs that have already seen decades of exposure.
I also recommend a basic visual check after every major storm. You do not need to be a professional to walk around your property and look for slipped tiles or debris in the gutters. But for a full assessment, bring in someone who knows where to look. A trained eye catches things you would never see from the ground.
Common Mistakes Homeowners Make
Over the years I have seen the same errors again and again. One of the most common is sealing a leak from the inside with silicone or expanding foam. That might stop the drip for a few days, but it traps moisture in the roof structure and accelerates rot. Another mistake is replacing a single broken tile without checking if the underlayment beneath it is still intact. The tile may look fine, but if the felt or membrane has perished, water will still find its way in.
Some people also assume that a new roof does not need inspecting. I have found leaks on roofs less than a year old, usually because a contractor cut corners around a flue or used the wrong flashing detail. Age is only one factor. The quality of the original installation matters just as much.
What a Professional Inspection Looks Like
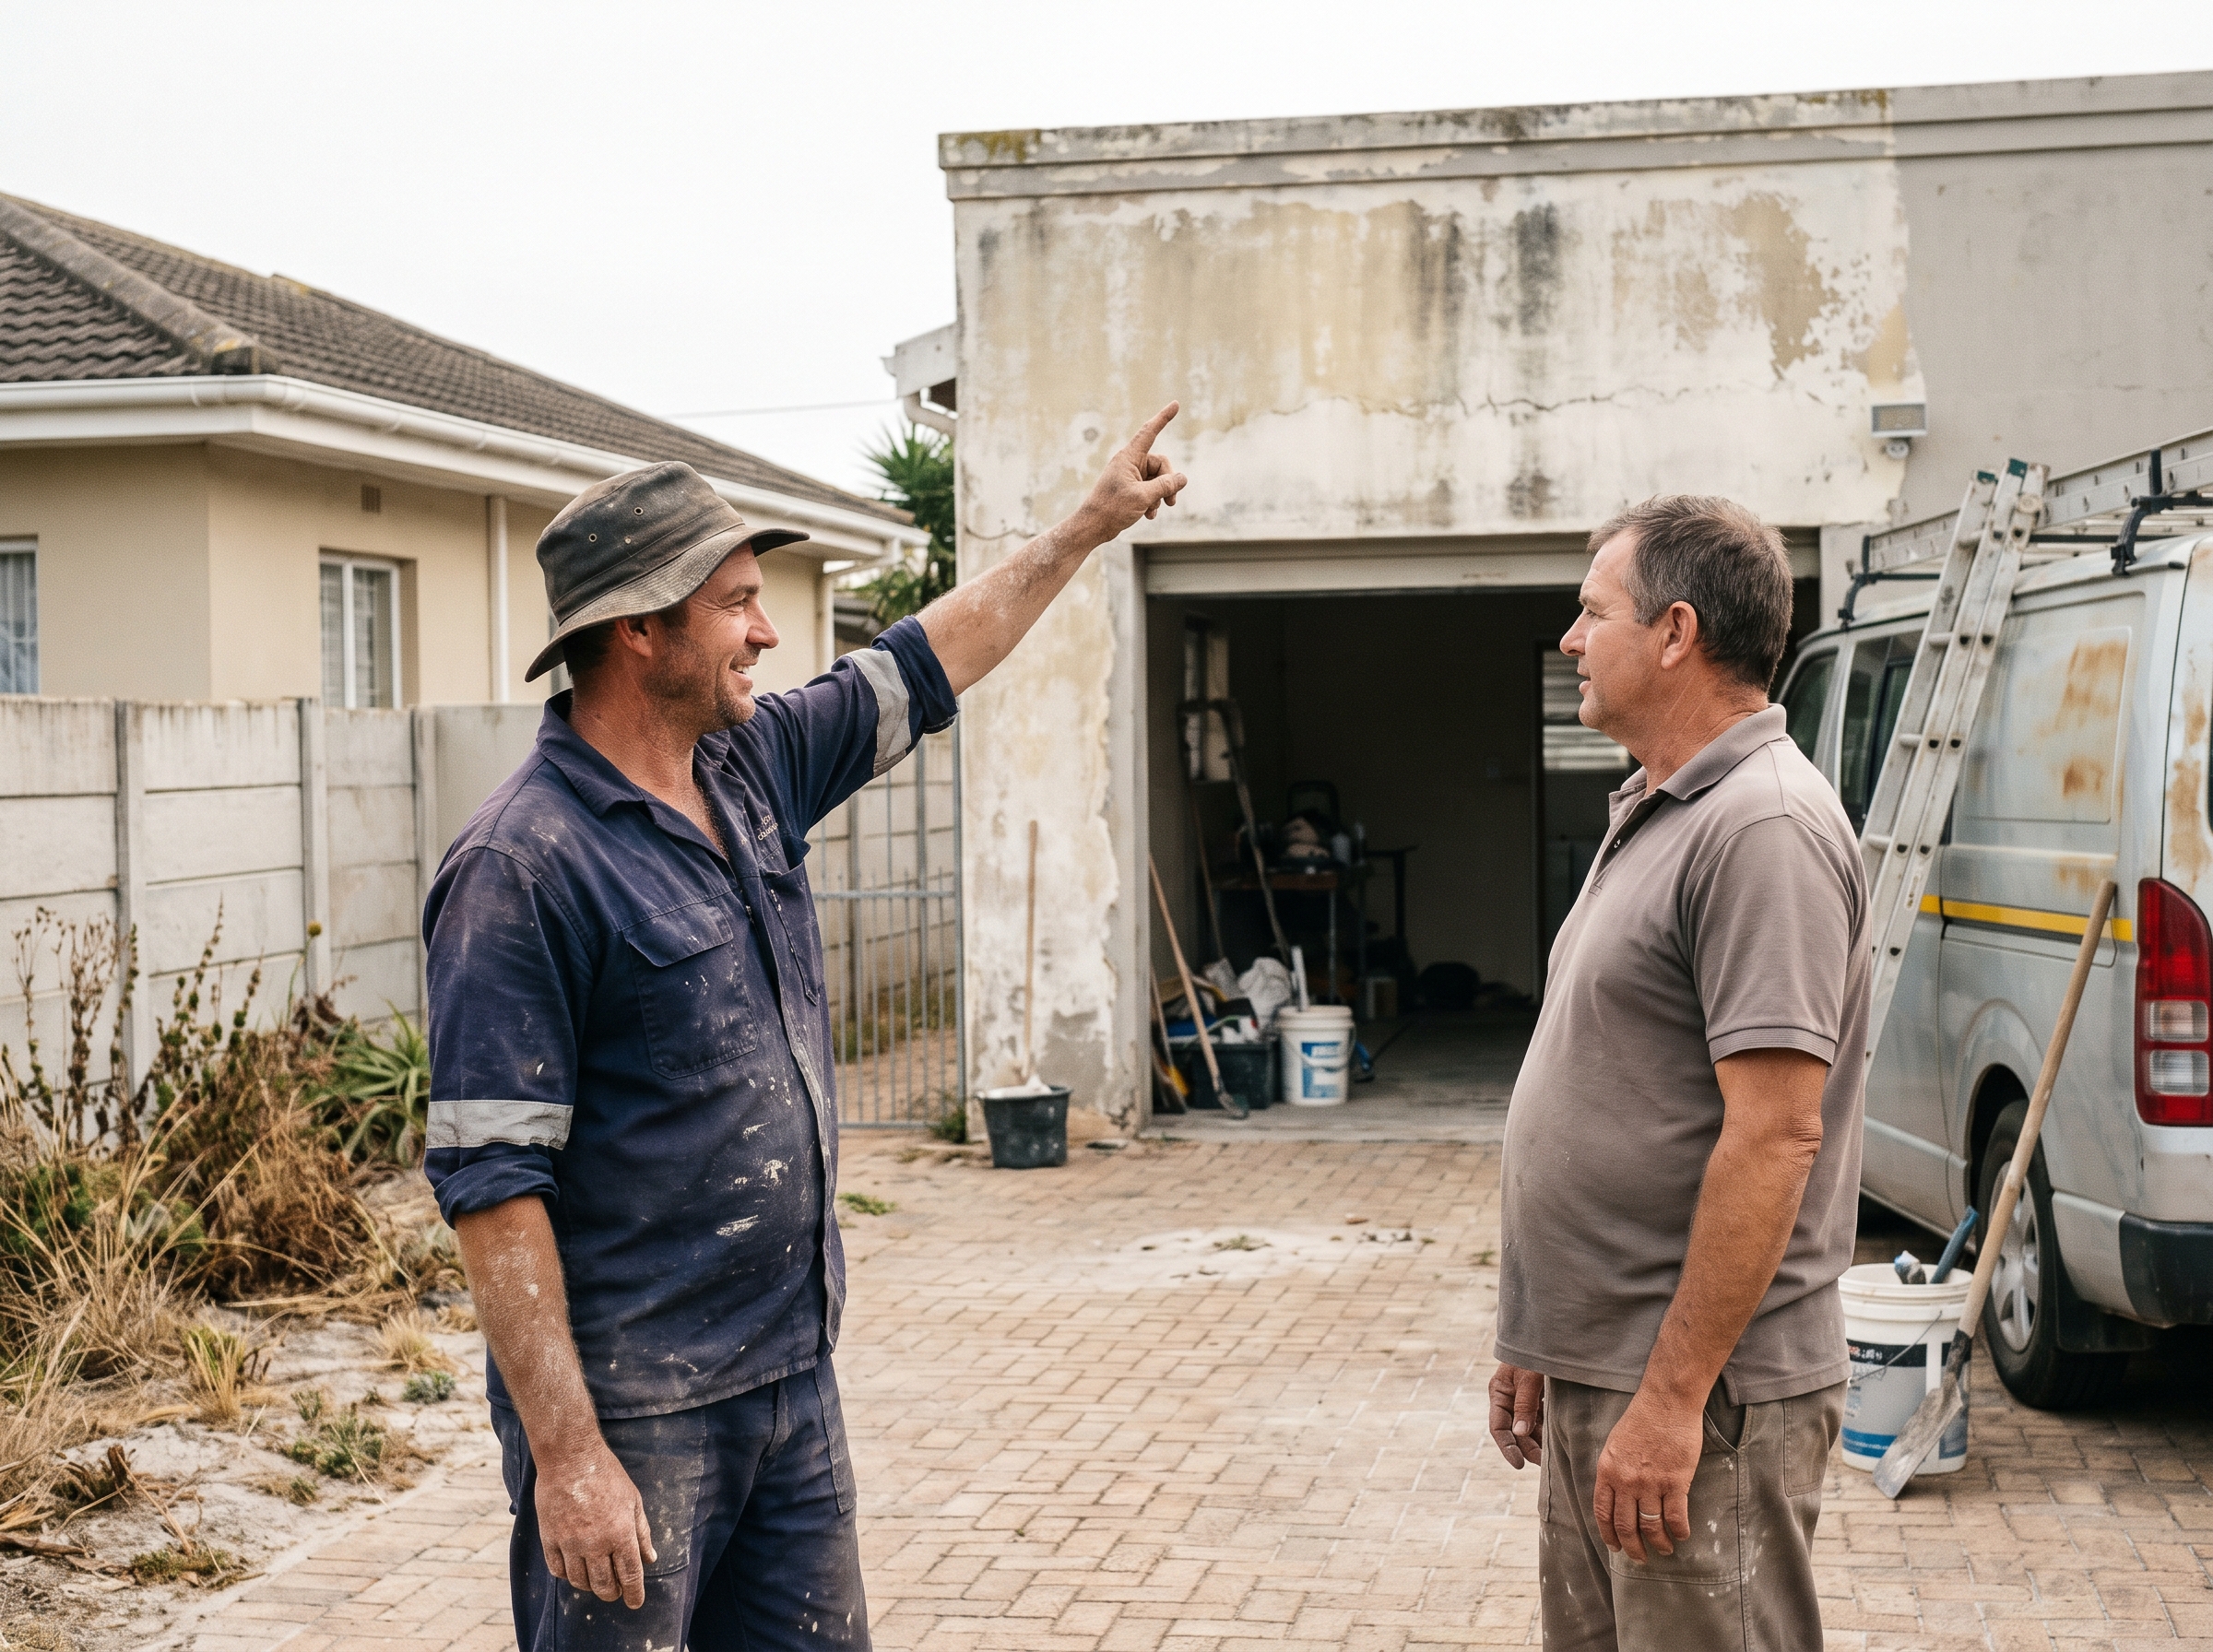
A proper roof leak inspection involves more than a quick walk on the tiles. The inspector should check inside the roof space as well, looking at rafters, insulation, and the underside of the roof covering for signs of moisture. They should also test flashings and seals by running water over them during dry weather to simulate rainfall. This is called a water test, and it is the most reliable way to confirm a repair has worked.
After the inspection, you should receive a clear report that explains what was found, what needs to be repaired, and what the likely cause was. Vague descriptions are a red flag. A good report will mention specific locations, materials involved, and the recommended fix. Transparency in pricing and scope is just as important. You should know what the inspection costs upfront and what the repair options are before any work begins.
When to Call a Specialist
If you have a flat roof, a metal roof, or a complex roof with multiple valleys and dormers, a general handyman may not have the experience needed. Specialist waterproofing contractors spend every day on roofs like yours. They know the common failure points for each system and carry the right tools and materials. For older homes with heritage tiles or unusual profiles, calling someone who understands those materials can save you from costly mistakes.
I have also seen cases where a leak was misdiagnosed as a roof problem when it was actually a plumbing issue. A burst pipe in a ceiling void can look identical to a roof leak. A thorough roof leak inspection includes checking for that possibility. If the stain appears after heavy rain, it is probably the roof. If it appears after using a shower or flushing a toilet, it is likely plumbing. Context matters.
Prevention Is Cheaper Than Repair
The cost of an annual inspection is small compared to the price of repairing water damage. Replacing rotted rafters, treating mould, and repainting ceilings can run into tens of thousands of rands. An inspection costs a fraction of that and gives you peace of mind. It also extends the life of your roof. Catching a slipped tile or a cracked flashing early means the rest of the roof stays dry and the problem stays localised.
I always tell homeowners: treat your roof like your car. You would not drive for years without checking the oil or tyres. Your roof protects everything under it. It deserves the same kind of regular attention.
Final Thoughts
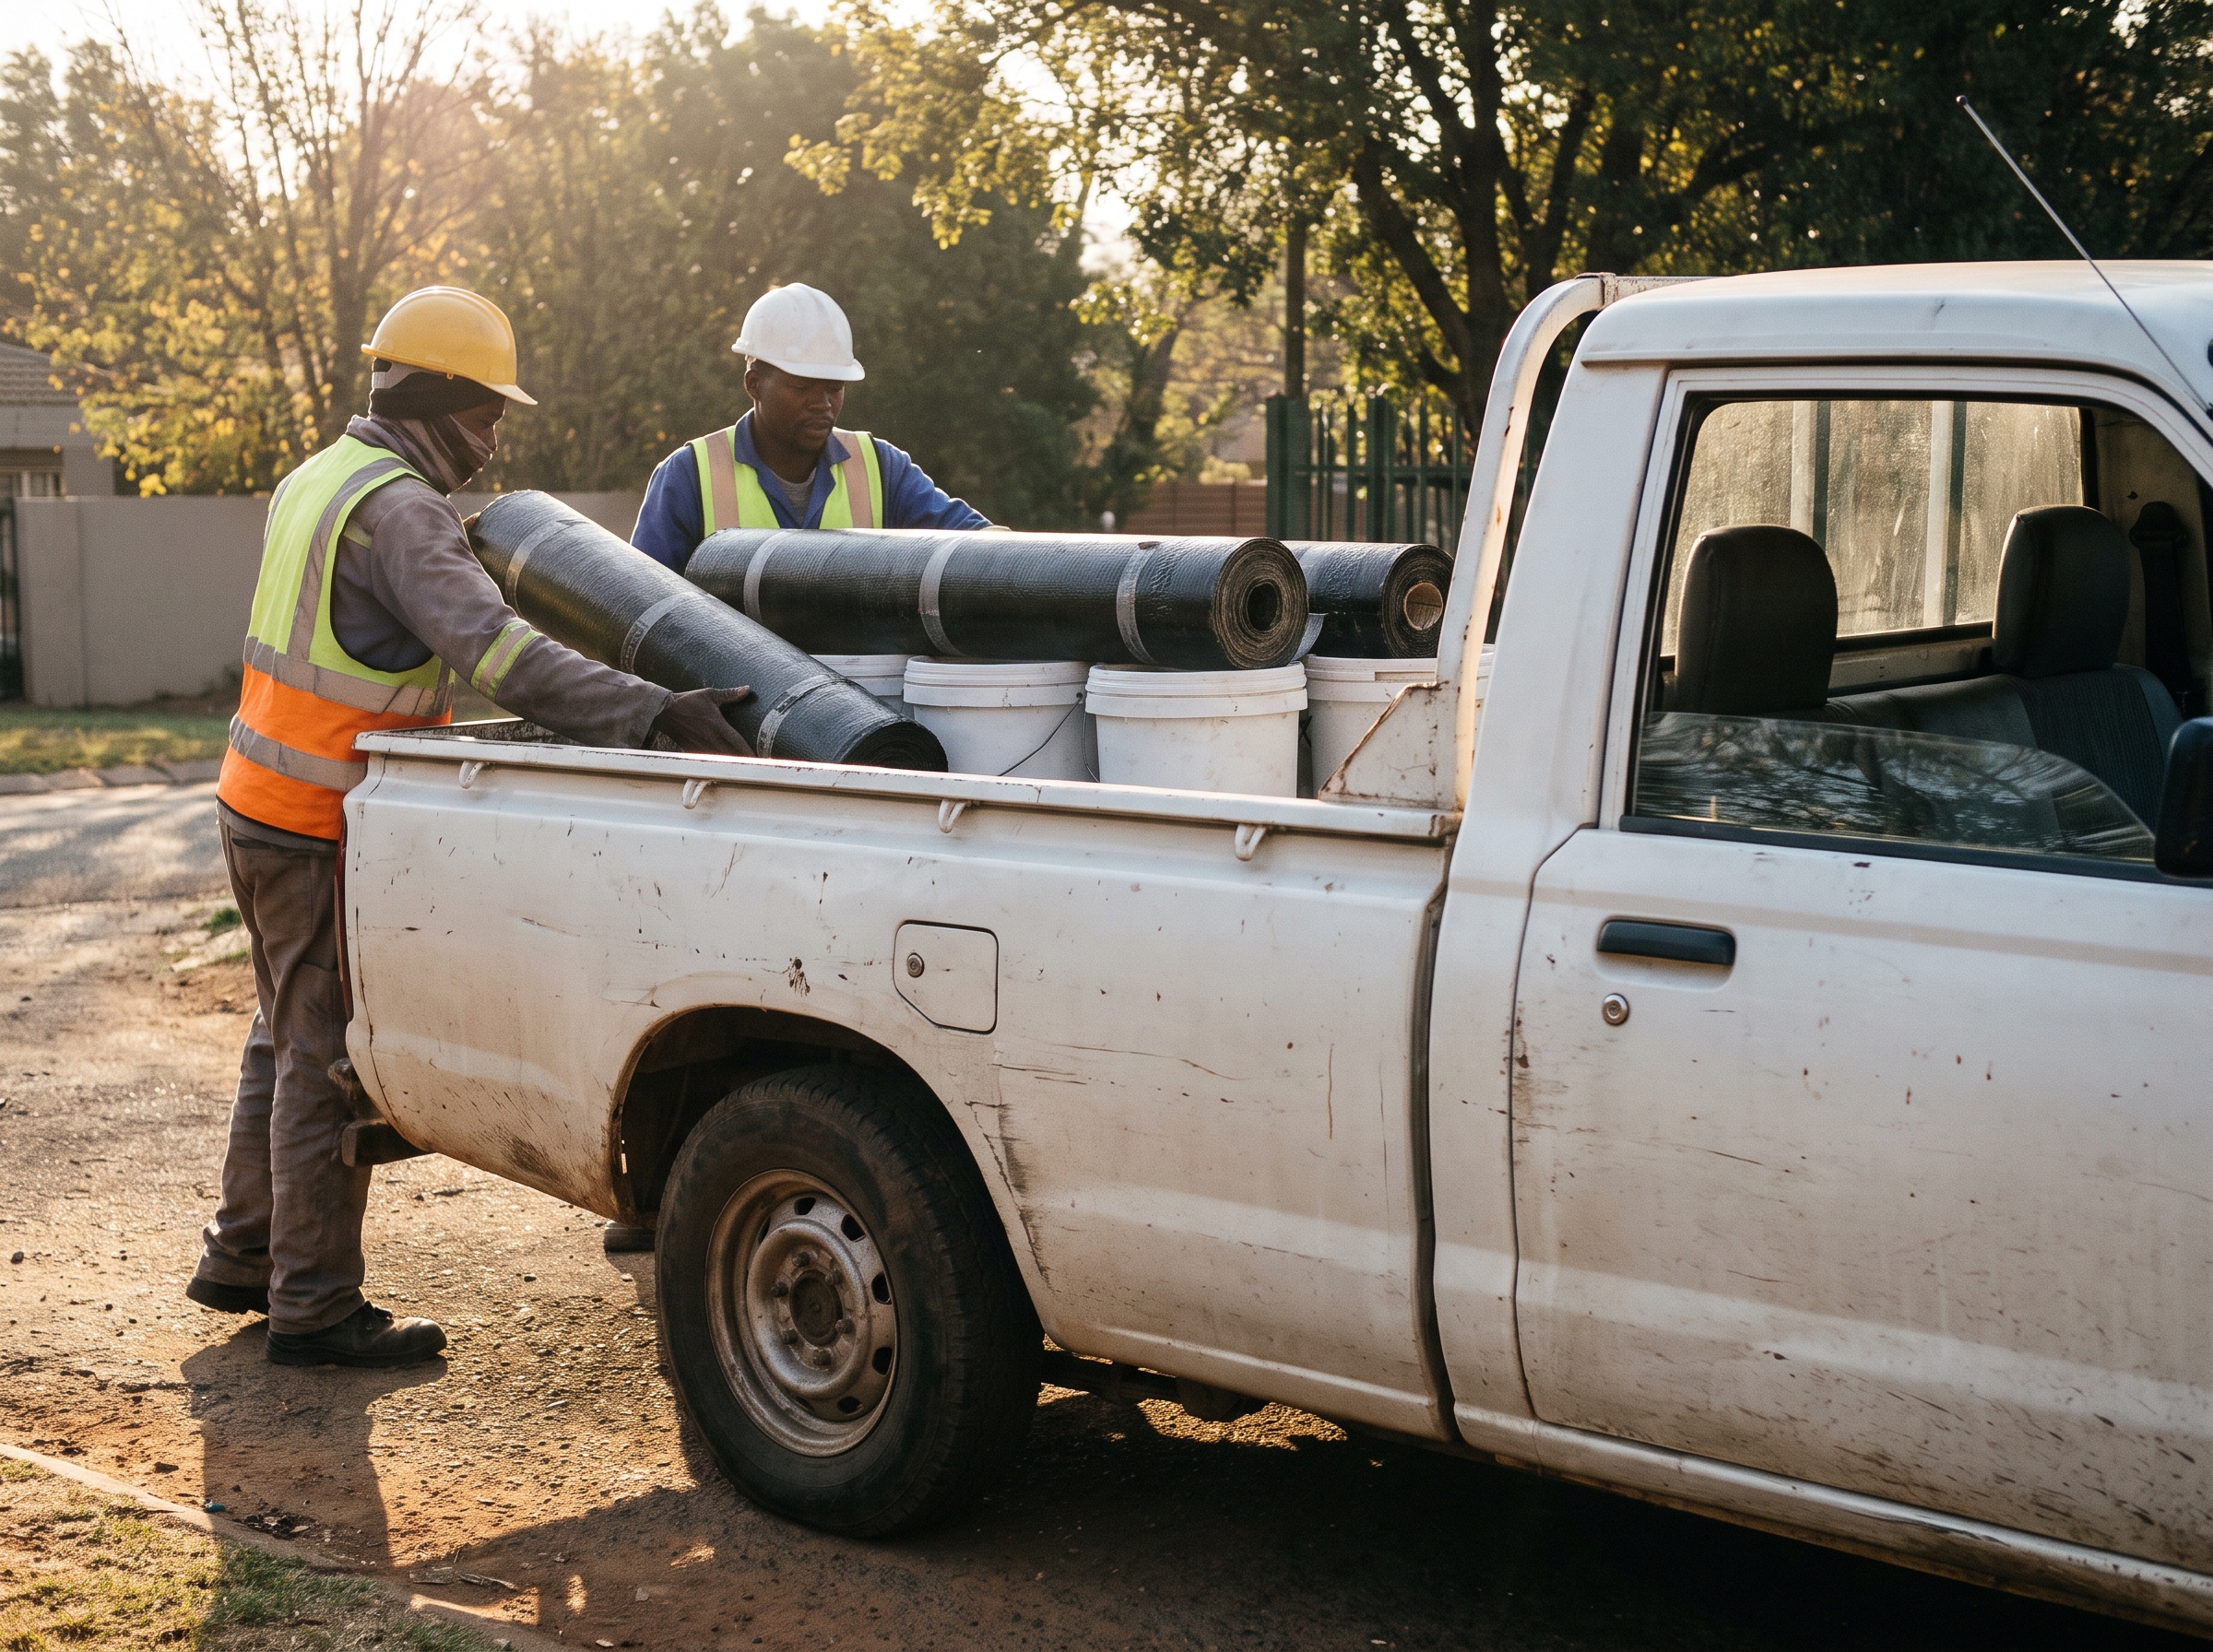
Roof leaks are stressful, but they are usually fixable. The key is finding the real source of the problem, not just the symptom. That takes a systematic approach, the right tools, and experience. A professional roof leak inspection gives you the information you need to make smart decisions about repairs and maintenance. Whether you own a Victorian townhouse in the city bowl or a modern home in the northern suburbs, the principles are the same. Look carefully, act early, and do not cut corners.
If you suspect a leak, start with a visual check from inside. Mark the stain and note the weather conditions when it appeared. Then call a specialist who will conduct a proper roof leak inspection from both inside and outside. It is the best investment you can make in keeping your home dry and safe.
Ends · ROOFLEAKINSPECTIONSCOPE